11 July 2014

Task 3 - Getting To Work (Creative Thinking for Designers)

Task 3 - Getting to Work

The process of creating the artwork itself:

The artwork is created using wood, recycled wood


The flatbed for the paper

After gathering the items for the project, I went to putting them together with nails


Right after the nailing is complete, I've began the string holding part using wires as ropes/strings


With this the structural part of the project is complete and I moved on to the flatbed itself. Using manila card to make a smooth surface from the wood and spray paint to stick it


After the card is stuck, I've begin to nail down the paper clippers


And then I put the two piece together


This is the basic structure and the basic form of the project now moving on the extra aesthetics

First, the tray


With the tray done, it's time for the bottles/container for the drawing/painting utensils


With this I have done everything the project is completed, however I added something that was not planned in the idea sketching. Which is was a self draining water container


When filled with water, the user can use this as the water for painting


And when the water is no longer useful, all he need is to open the cap and the water will flow out

Finally the project is DONE


Add a little finishing of yellow paint


9 July 2014

Task 3 - Textures and Colours (Basic Digital Skills)

Task 3 - Textures and Colours

Find a number of organic and non-organic objects. Examine their properties digitally to do so use scanning devices. Experiment with the scanning options and methods, try rotating the object whilst scanning or something else. Extract the patterns and textures and form them into a new image. Look at the visually balancing colour and textures. Which is more important? Try working in black and white to experiment

With the tutorial practices experience I used the skills that I've learn in the tutorials and whatever knowledge I have with Photoshop and try to make an image on my own.

The examples from the tutorials were


And finally with all the examples this is my final image

FINAL IMAGE


3 July 2014

Task 3 - Texture Practices (Basic Digital Skills)

Task 3 - Texture Practices (Basic Digital Skills)

We were required to scan 10 images and study their texture digitally


These were the few pictures that I've scan for the task and then using the software Photoshop, I altered, changed and mixed the textures together into one picture


Using this function, I alter the image and blend it into the background creating new texture or image


Using the masking function, I can erase certain part of the texture without disturbing the background or the whole image

and resulting in these few images


For this image I wanted ti portray the idea of before and after using both a naked foot and a foot with shoes on. The main reason of this image is more towards a book cover or magazine cover of some sort


This image is also the same as before except this image uses more of the "Masking" function. This image was created with the concept of a book cover in mind


This is more of a poster like image whereby the idea of Nature OR Technology is portrayed. Using both man-made objects and nature textures and blend together


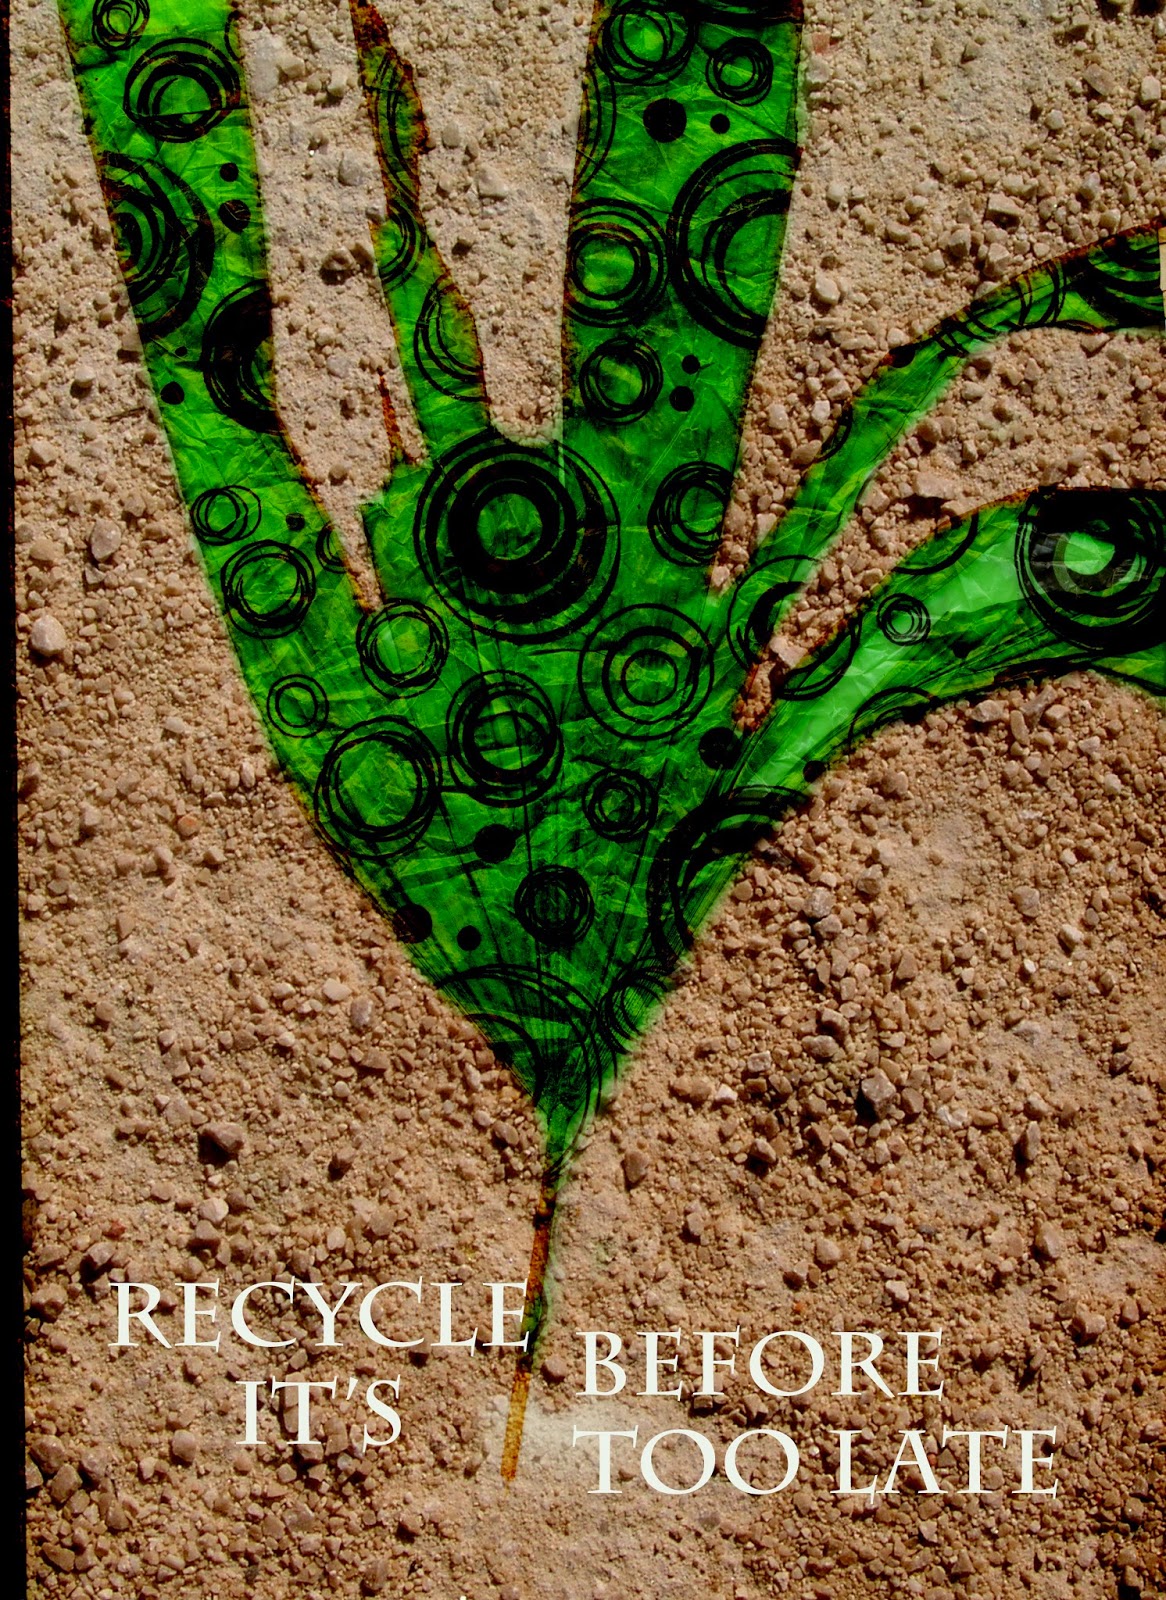
For this image I wanted to send the idea of a plastic leaf, therefore the sentence "Recycle Before it is Too Late". Using mask to erase the parts without the leaf texture is and making the feel of the leaf is being wrapped by the plastic


For this I wanted to send the idea similar to Nature OR Technology but using Man and Nature. Similar to the previous image, displaying two different image in one each with its own concept and background to create a VS idea

Task 3 - Tutorial Practices (Basic Digital Skills)

Task 3 - Tutorial Practices

In the recent weeks, our lecturer has conducted a few tutorial practices on Illustrator and Photoshop.

In the first tutorial, we were taught on how to use the Ruler Grid and Duplication Method with Rotating Tool


Using the Ruler we put in a horizontal and vertical guide to find the center of the circle


Then we use the rectangle tool and create a small box at the very top of the circle


Then using this tool, and selecting the center with the center of the circle, this will be the point of rotation and setting an angle of rotation we copy the rectangle and by using CTRL + D, we duplicate and continue to fill the rest of the circle with the small box

and finally the tutorial ends like this

_________________________________________________________________________________

The second tutorial we need to make this


First the tutorial starts with a shape like this


And then using the same rotation technique and do this


Using pathfinder "divide" and create a pattern like this


And then slowly selecting the box that I wanted and change the fill colour to the colour I chose
resulting this